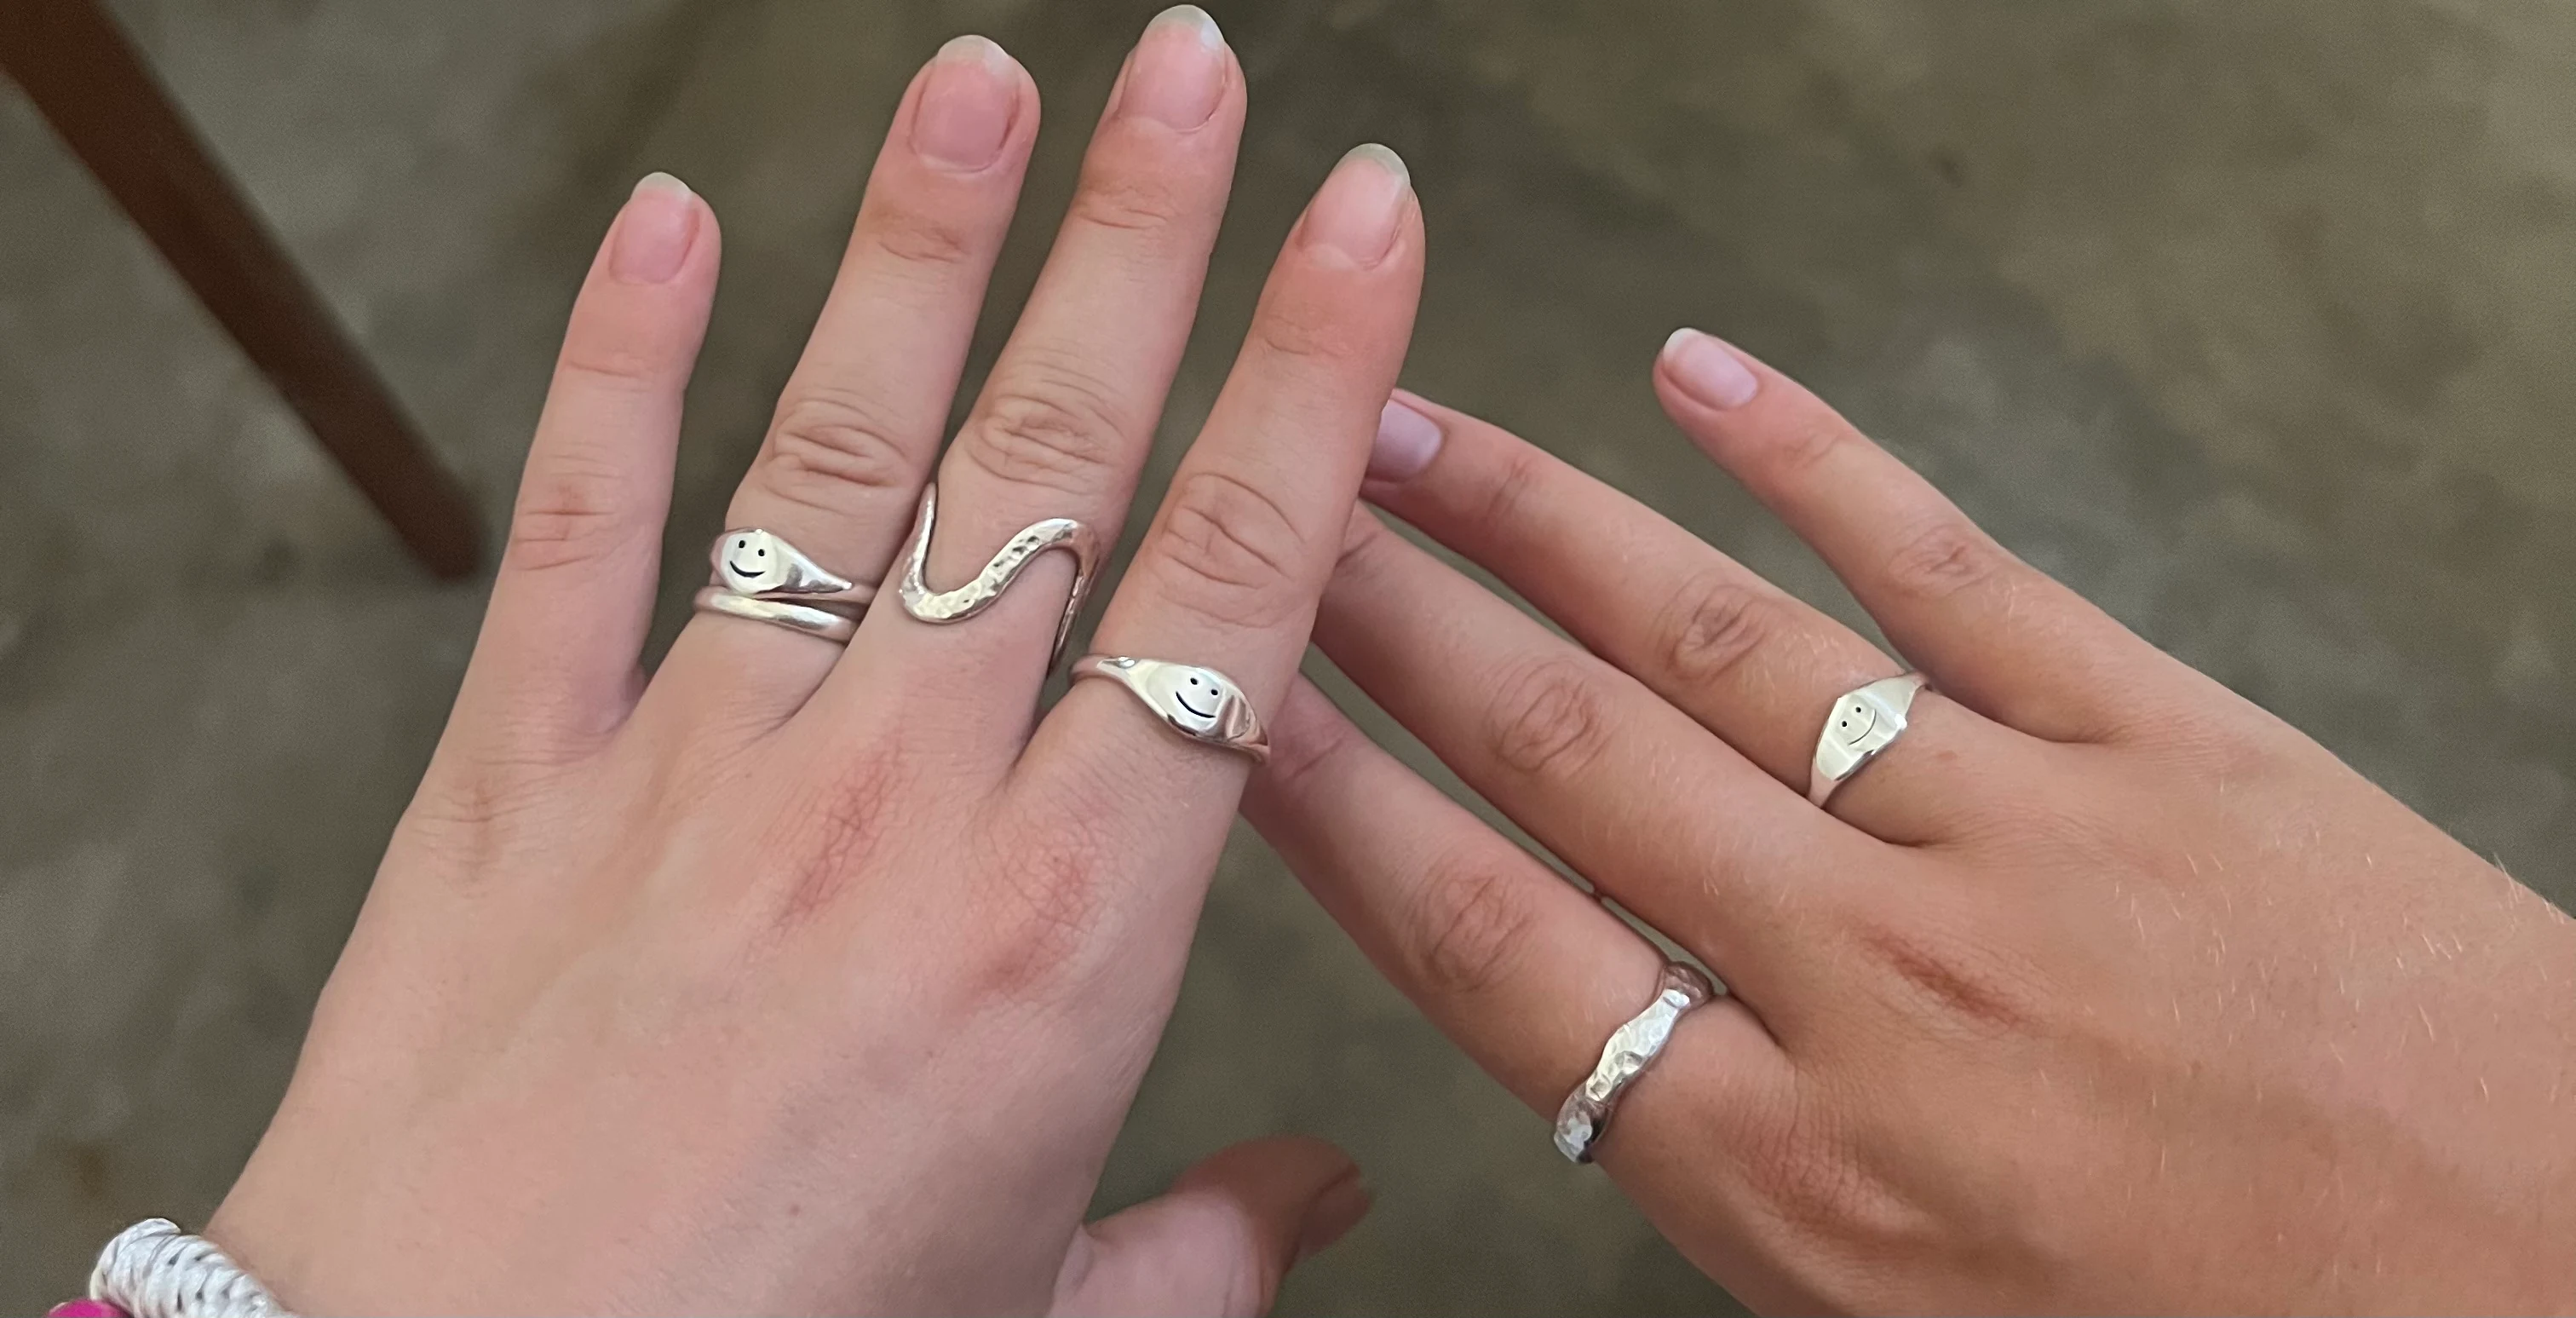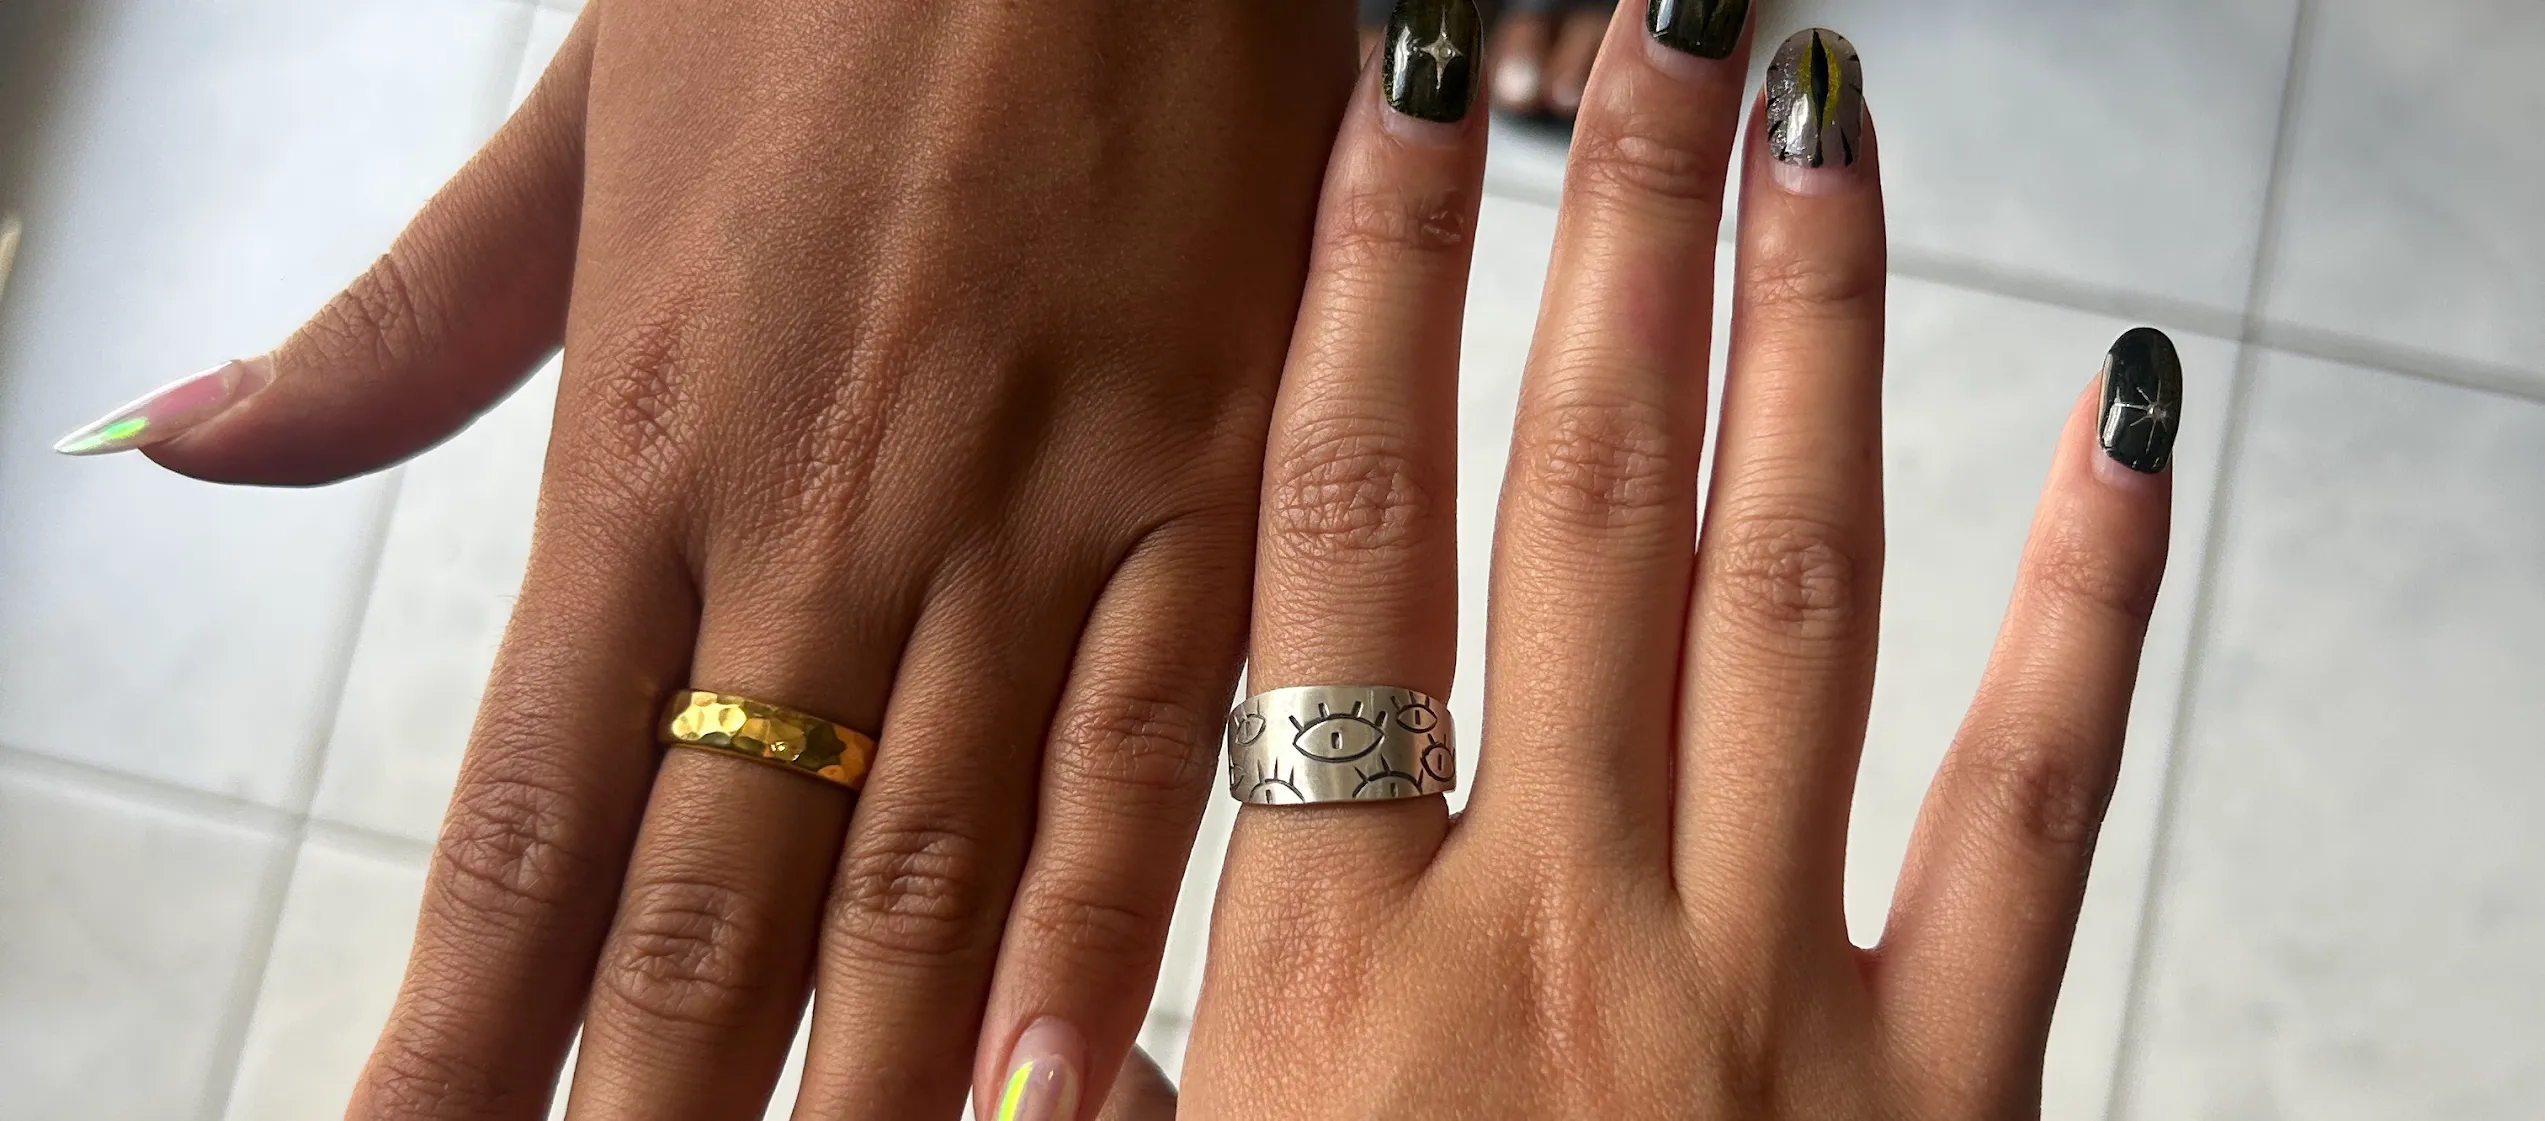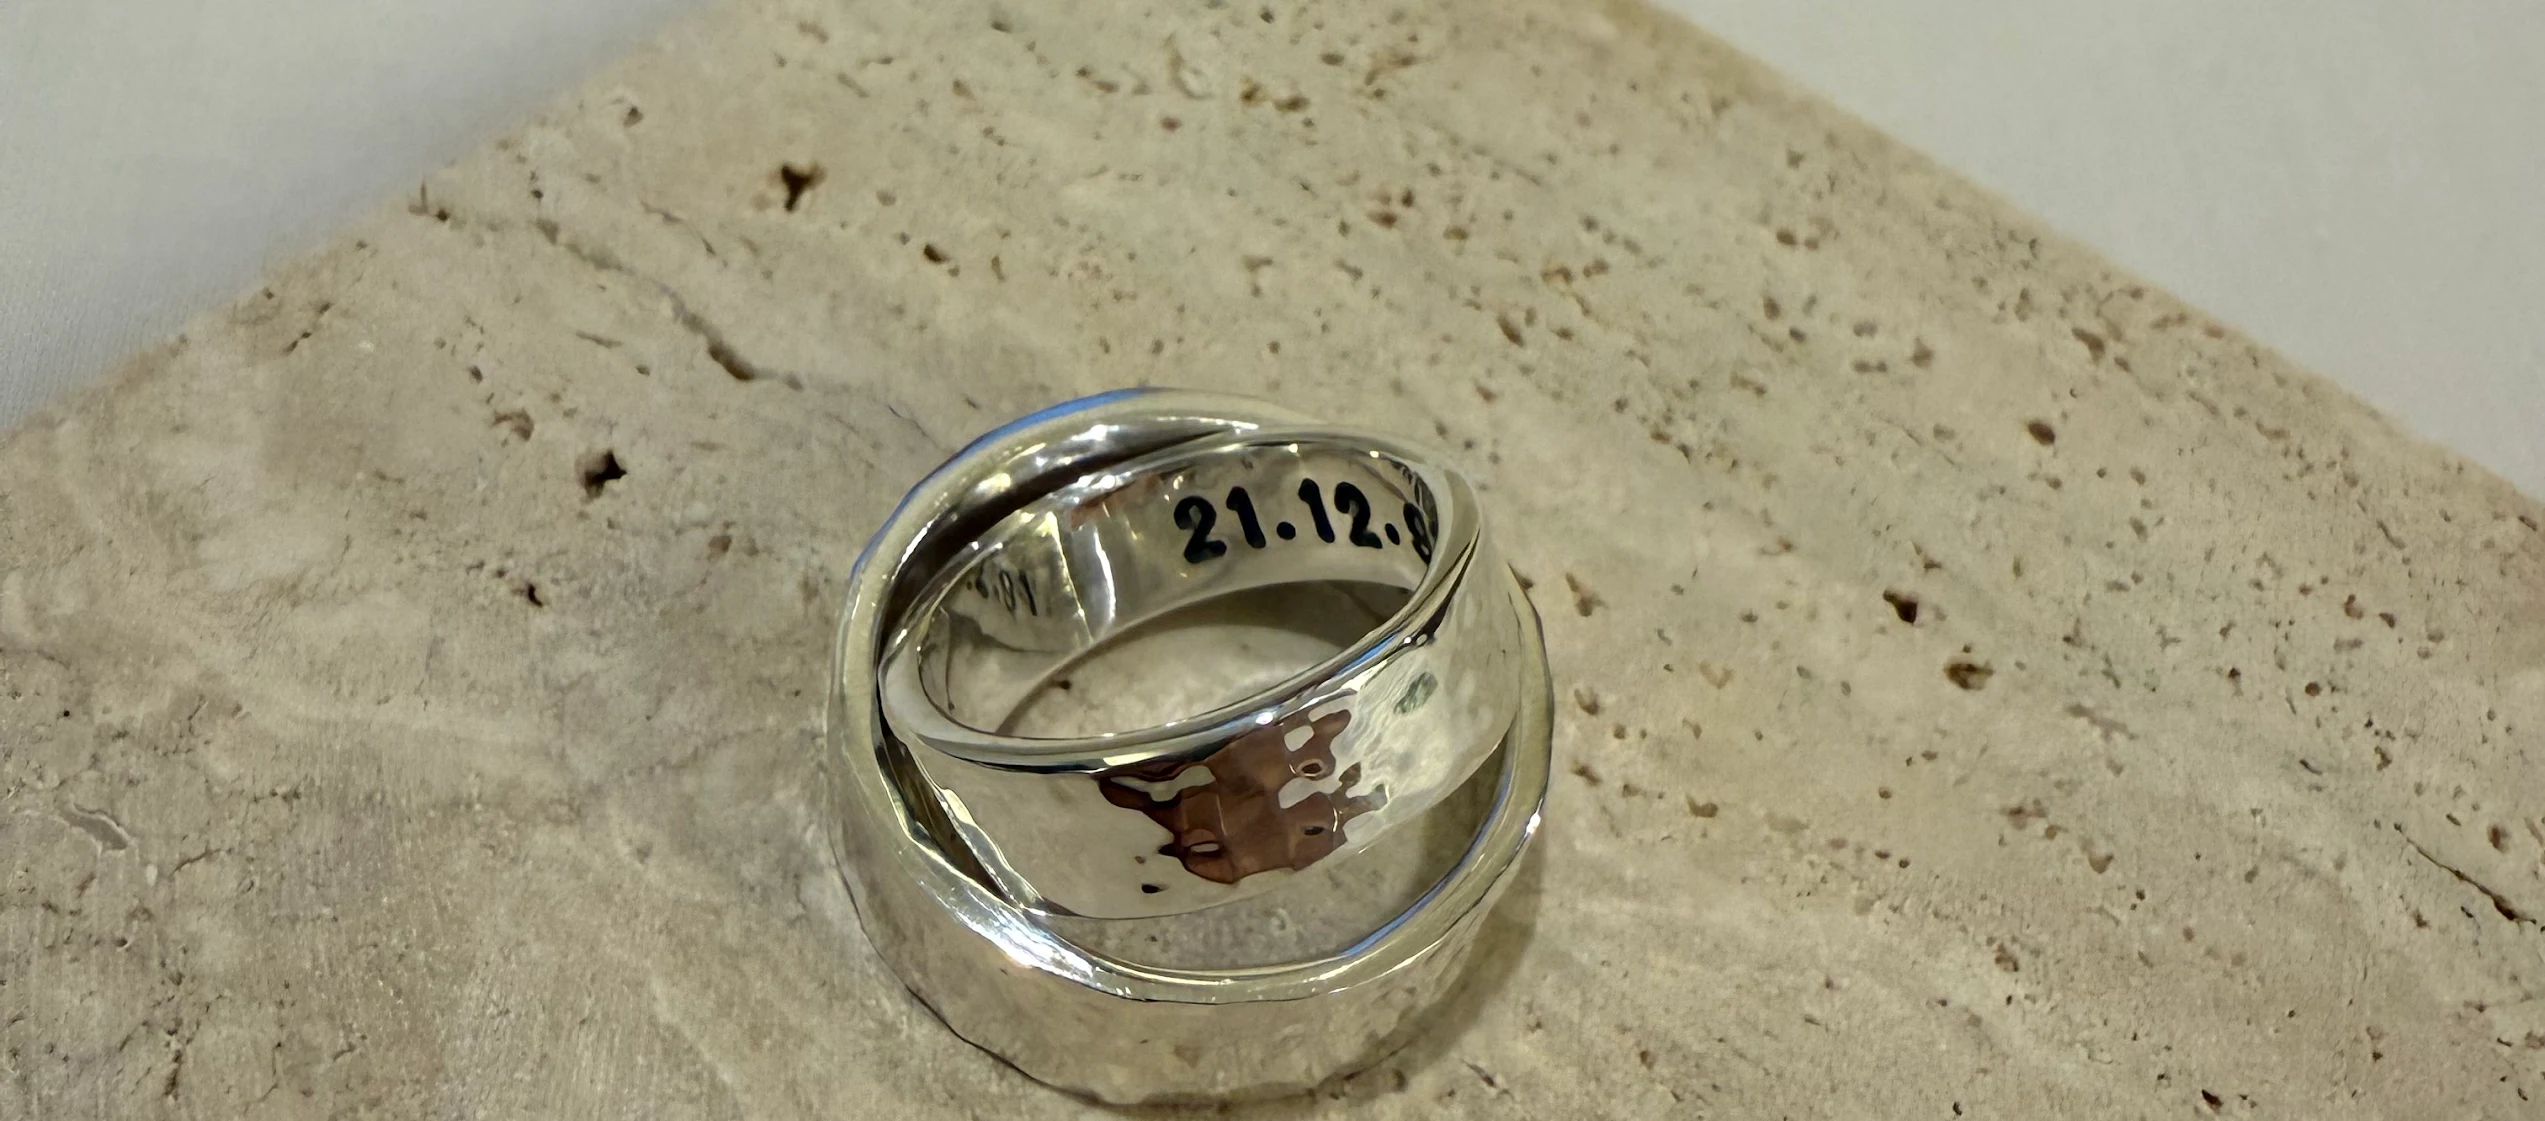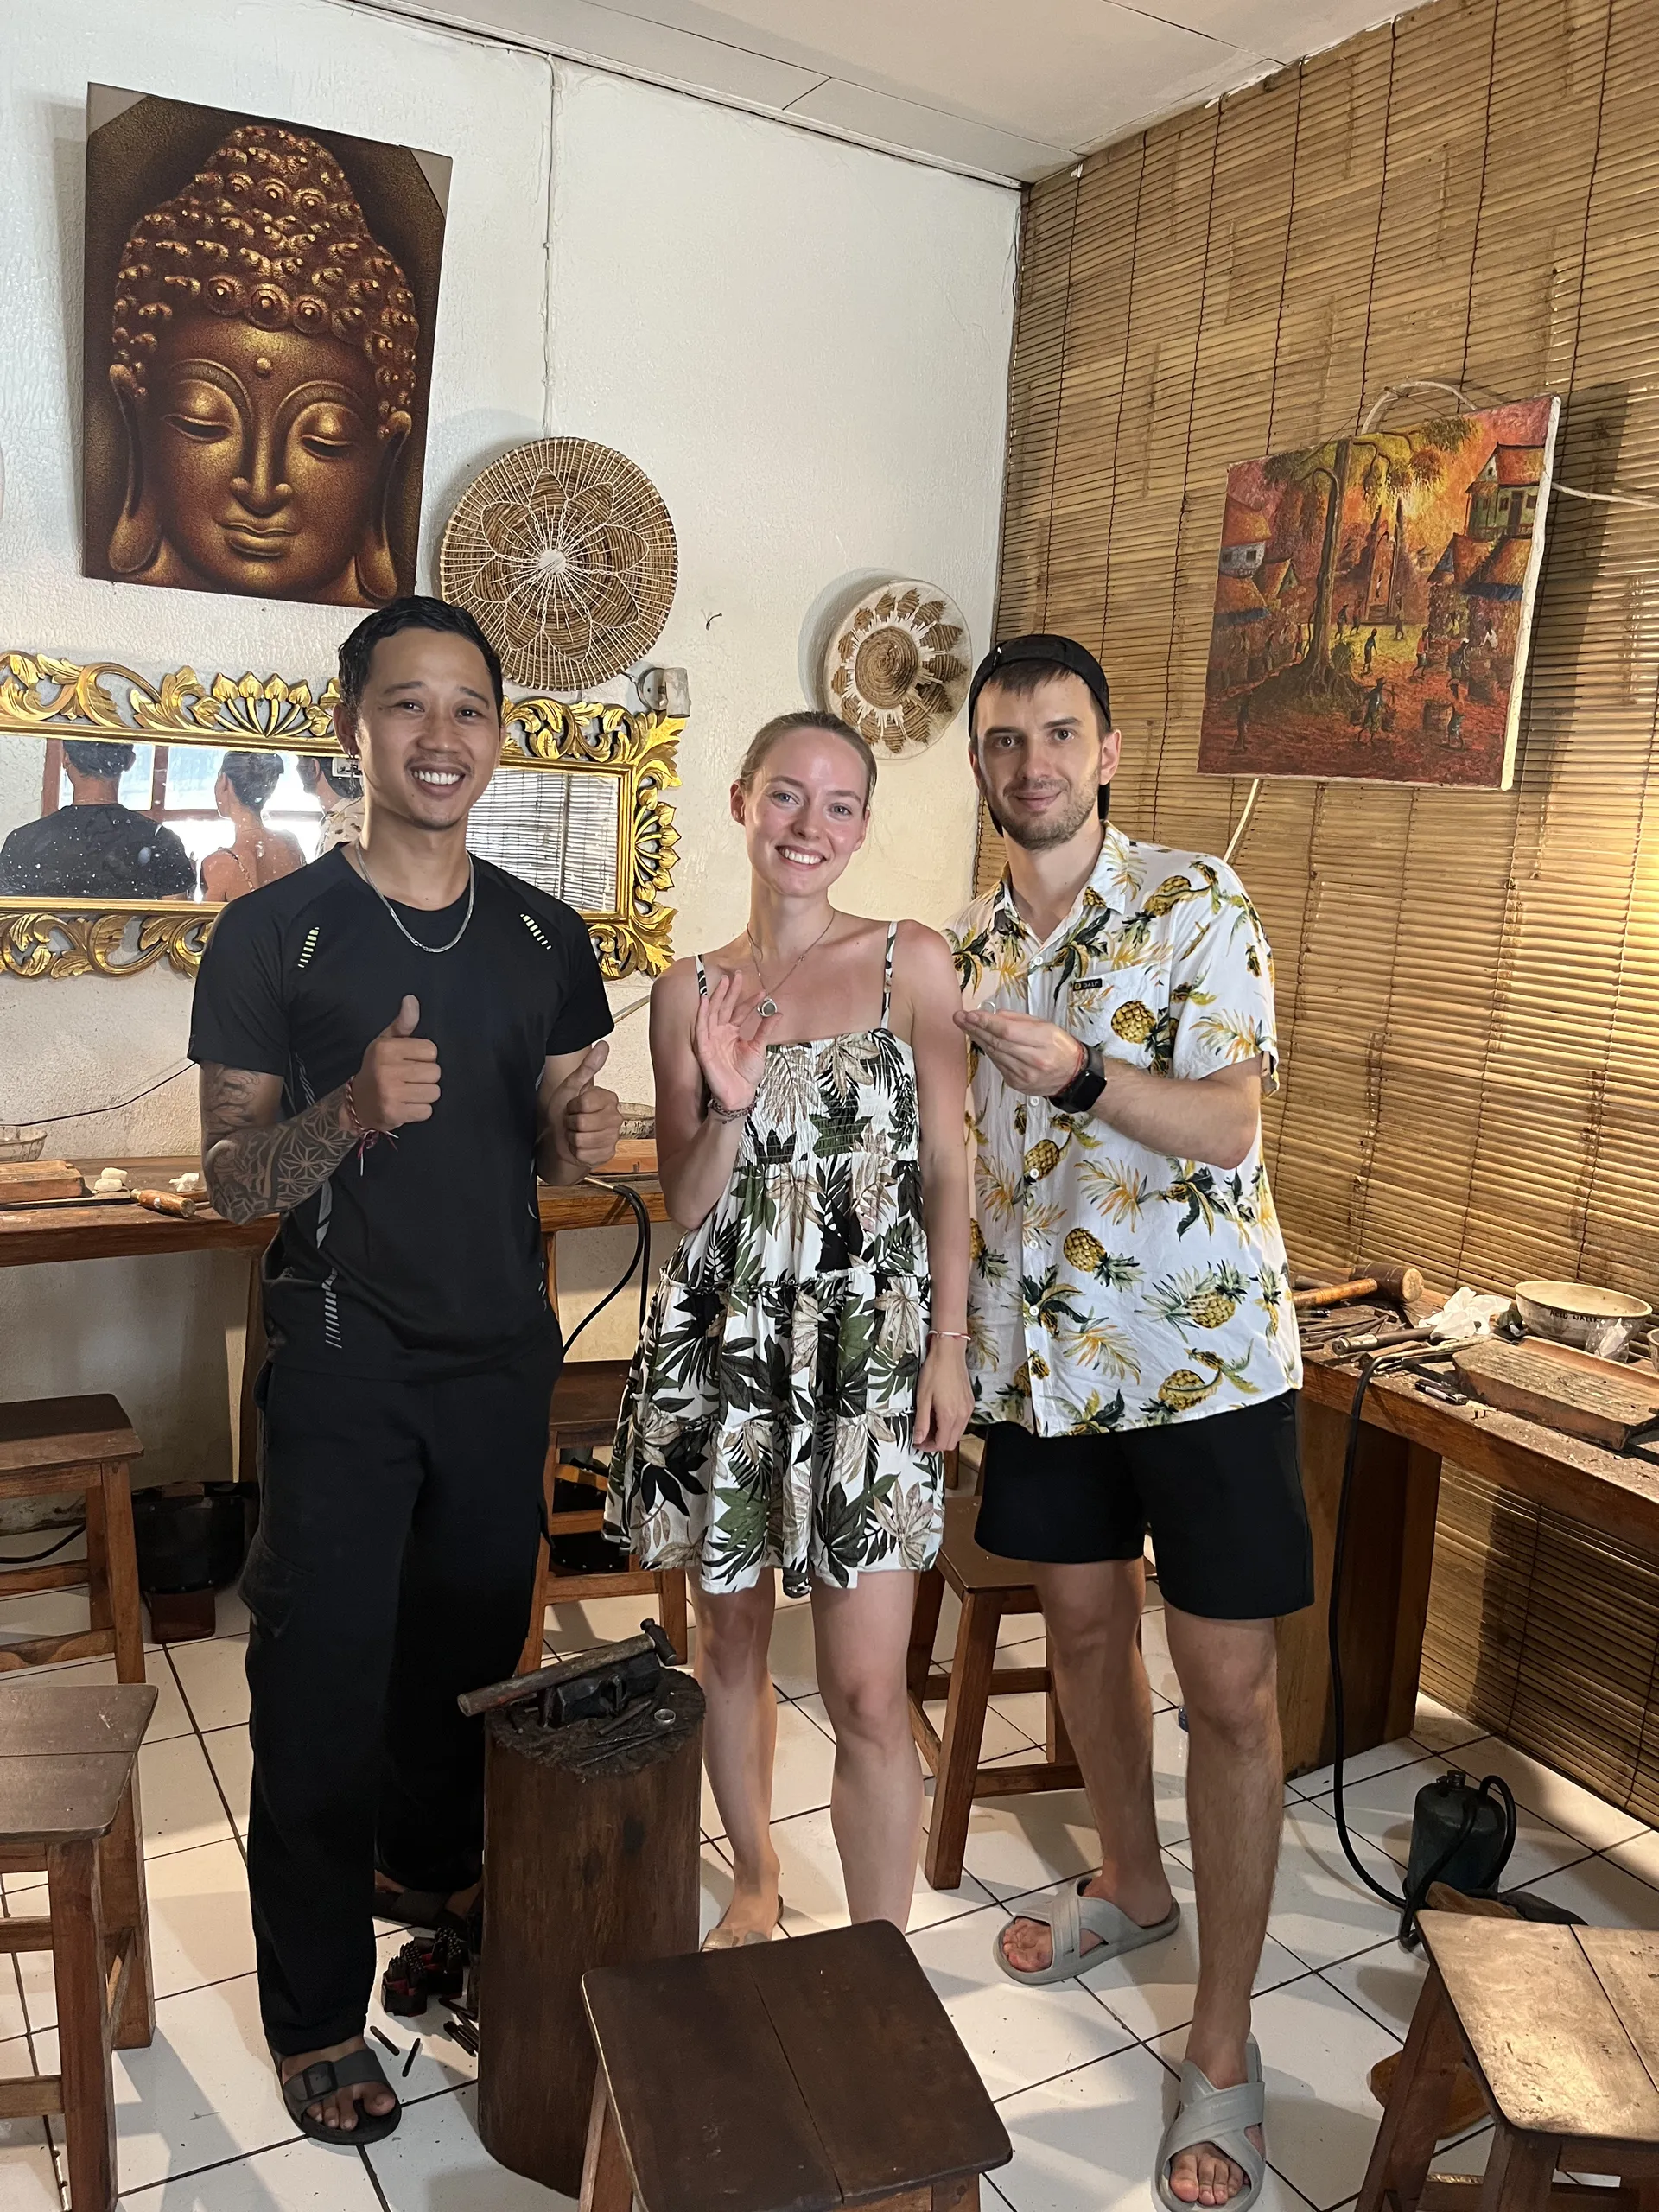
Uluwatu is famous for its dramatic cliffs, world-class surf breaks, and the iconic Pura Luhur Uluwatu temple. But beyond the waves and the sunsets, there is a growing community of artisans and creatives who are bringing a new depth to this southern tip of Bali. Among the most sought-after experiences in this region is the art of silversmithing—a tradition deeply rooted in Balinese culture, now accessible to travelers through immersive workshops.
If you are looking for a break from the beach clubs or simply want to create a souvenir that means more than a generic t-shirt, a jewelry-making class is the perfect answer. In this ultimate guide, we will explore everything you need to know about jewelry making in Uluwatu, from the history of the craft to a step-by-step walkthrough of what you can create at Krisna Silver Class Uluwatu.
Why Choose Uluwatu for Your Silversmithing Experience?
Bali has long been known as the "Island of the Gods," but it could just as easily be called the "Island of Artists." While Celuk is historically known as the silver village, the creative energy has spread across the island. Uluwatu offers a unique setting for creativity. Here, the vibe is more relaxed, more connected to nature, and arguably more inspiring.
Imagine spending your morning catching waves at Padang Padang or enjoying a slow breakfast at a cliffside cafe, and then spending the hottest part of the day in a cool, air-conditioned studio, focusing your mind and hands on creating something beautiful. It is the perfect balance to the active Uluwatu lifestyle.
At Krisna Silver Class, we bring the traditional techniques of Balinese silversmithing to the modern traveler. Our studio in Uluwatu is designed to be a sanctuary of creativity, where beginners can feel comfortable and supported as they learn a new skill.
What to Expect in a Silver Making Class
Many of our guests arrive saying, "I'm not creative," or "I've never worked with tools before." By the end of the session, they are holding a polished silver ring or pendant, beaming with pride. The process is designed to be accessible to everyone, regardless of experience level.
1. Design and Consultation
Every great piece starts with an idea. When you arrive at our workshop, you will sit down with our expert silversmiths to discuss your design. Whether you have a sketch on a napkin, a photo from Pinterest, or just a vague concept, we help you refine it into a workable design. We consider the technical aspects—how the metal will bend, where the solder joints will go, and what textures will look best.
2. Melting and Shaping
This is where the magic begins. You start with raw silver granules. Watching them melt under the torch into a glowing molten ball is a mesmerizing experience. You then pour the silver into a mold to create an ingot. From there, it's all about muscle and precision. You will use a rolling mill to flatten or lengthen the silver into the wire or sheet needed for your design.
3. Sawing and Forming
Precision is key here. Using a jeweler's saw, you will cut your silver to the exact length or shape required. This step requires patience and a steady hand, but our instructors are always there to guide you. Once cut, you will use pliers and hammers to form the metal into your desired shape—whether it's a perfect circle for a ring or an intricate organic form for a pendant.
4. Soldering
Soldering is the process of joining pieces of metal together using heat and a filler metal. It is arguably the most exciting part of the process. You will learn how to control the torch, managing the heat to ensure the solder flows perfectly without melting your main piece. It is a delicate dance of fire and metal that feels incredibly satisfying to master.
5. Texturing and Polishing
Now comes the personality. Do you want a high-shine, mirror finish? A rugged, hammered texture? Or perhaps a matte, brushed look? We have a variety of hammers and stamps that allow you to add texture and character to your piece. Finally, you will go through the polishing stages, using different grits of sandpaper and polishing wheels to bring out the brilliant luster of the sterling silver.
What Can You Make?
The possibilities are nearly endless, but here are some of the most popular items our students create:
- Stacking Rings: Simple, elegant, and perfect for wearing every day.
- Signet Rings: Bold and classic, these can be engraved or textured for a personal touch.
- Pendants: From simple geometric shapes to complex designs featuring gemstones.
- Earrings: Studs, hoops, or drops—custom earrings are a fantastic gift idea.
- Bracelets: Cuffs or bangles that make a statement.
The Cultural Connection
Silversmithing in Bali is more than just a trade; it is a heritage. The techniques used in our Uluwatu workshop have been passed down through generations. By participating in a class, you are not just making jewelry; you are connecting with a lineage of craftsmanship that dates back to the Majapahit Empire.
Balinese silver is distinct for its intricate detail, often featuring granulation (tiny spheres of silver) and filigree (twisted threads of silver). While beginner classes usually focus on more modern, achievable designs, our instructors are masters of these traditional styles and love sharing their knowledge and stories with you.
Practical Tips for Your Workshop
To get the most out of your experience at Krisna Silver Class Uluwatu, here are a few tips:
- Book in Advance: Uluwatu is a busy destination, and our intimate classes fill up quickly. Booking ahead ensures you get your preferred time slot.
- Come with Ideas: While we have plenty of samples to inspire you, bringing a few reference photos can save time during the design phase.
- Dress Comfortably: You will be working with tools and fire, so wear clothes that you don't mind getting a little dusty (though we provide aprons!). Closed-toe shoes are recommended.
- Allow Enough Time: Creativity shouldn't be rushed. Most classes take about 3 hours, but complex designs might take longer. Don't book a tight connection or a dinner reservation immediately after—give yourself time to enjoy the process.
Why Krisna Silver Class Uluwatu?
We pride ourselves on offering a premium experience. Our studio is fully air-conditioned (a luxury in the tropical heat!), our tools are professional-grade, and most importantly, our instructors are patient, English-speaking experts who are passionate about teaching.
We also limit our class sizes to ensure everyone gets personal attention. Whether you are here on a honeymoon, a family vacation, or a solo soul-searching trip, we create an environment where you can relax, laugh, and learn.
Conclusion
A trip to Uluwatu is defined by the memories you make. While photos of sunsets are beautiful, holding a physical object that you crafted with your own two hands carries a different kind of weight. Every time you wear your custom silver ring or pendant, you will be transported back to that sunny afternoon in Uluwatu, the smell of the sea in the air, and the feeling of accomplishment.
Ready to unleash your inner artist? Book your session at Krisna Silver Class Uluwatu today and discover why we are the top-rated creative activity in the area. We can't wait to see what you create.